

Spring Tulips Mixed Media Canvas Tutorial
Skill Level: Beginner
Time needed: 30 minutes
I love spring! It’s one of my favorite times of the year, after fall of course. I love it because of all the vibrant colors and beautiful new flowers popping up everywhere. There’s so much beautiful inspiration all around.
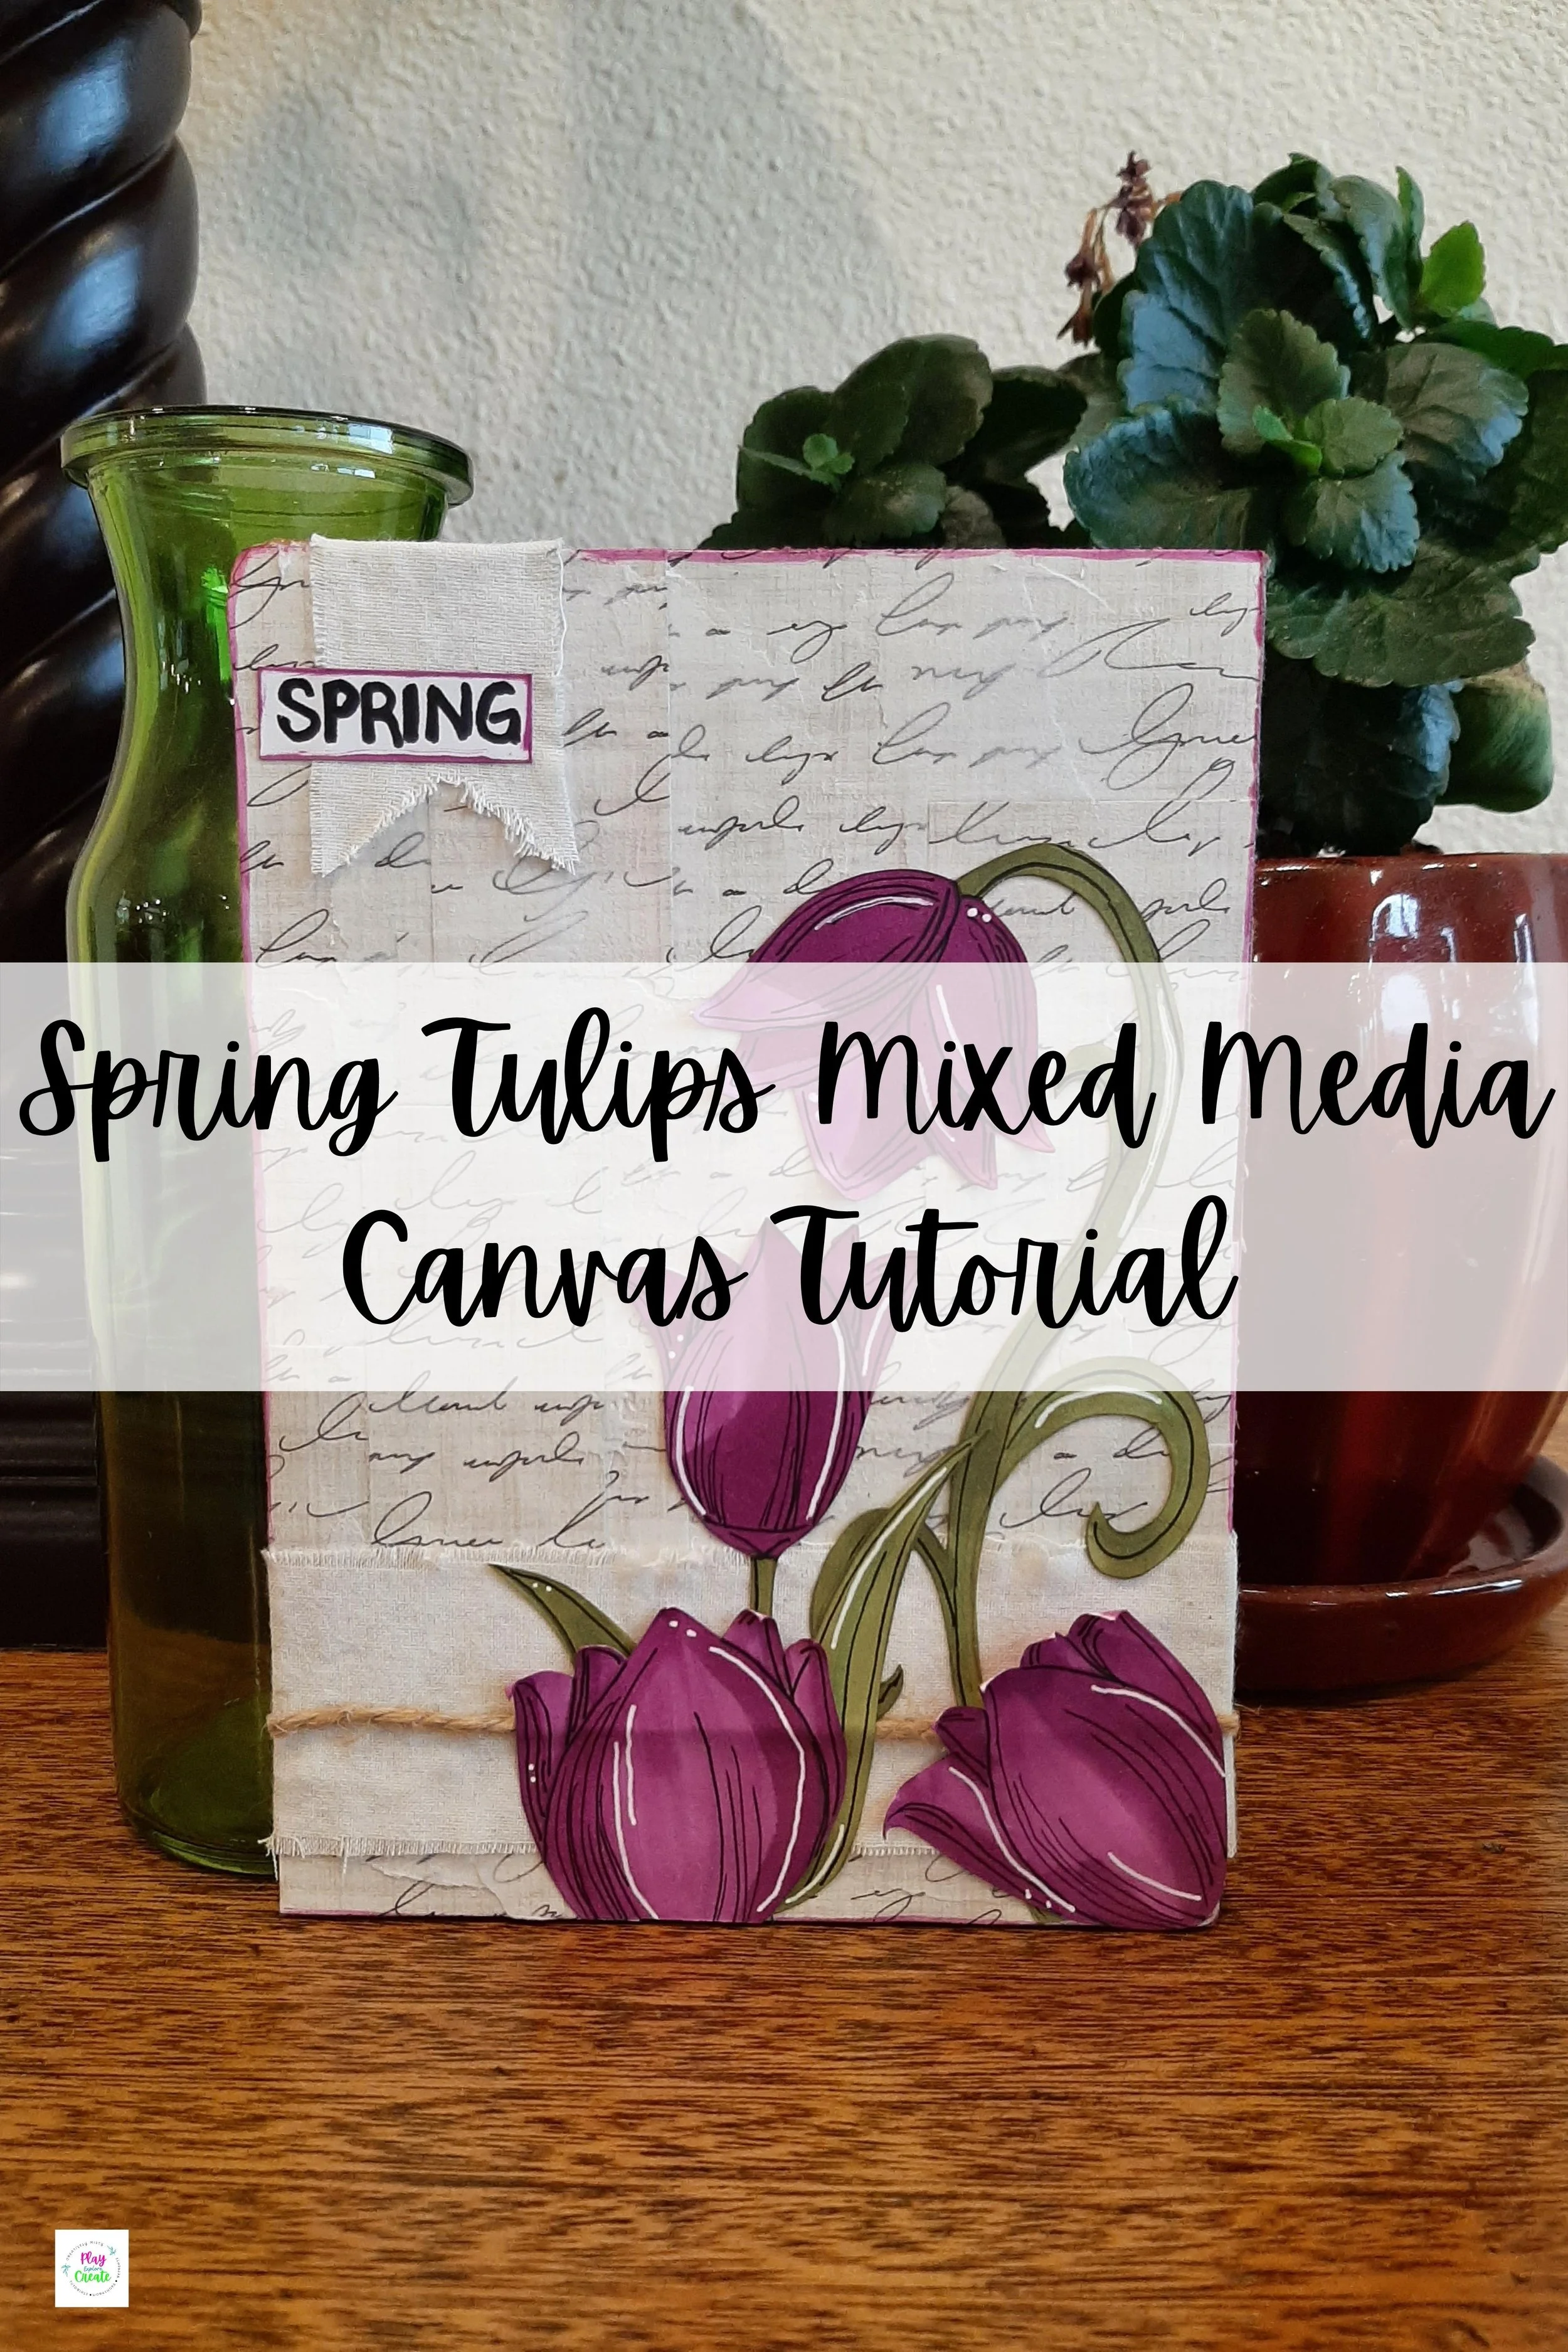
Today’s canvas was inspired by my love of all things tulips, they’re one of my favorite flowers! It’s super fun to make and can be customized with any flower you prefer.
Supplies:
Cardboard
Utility knife
Cardstock
Modeling paste
Paint brush
Fabric/ribbon
Twine
All-purpose glue
Stamps and ink pads (if you want to stamp your flowers) OR pencil, pen and markers (if you want to draw your flowers)
White gel pen
Scissors
Mod Podge
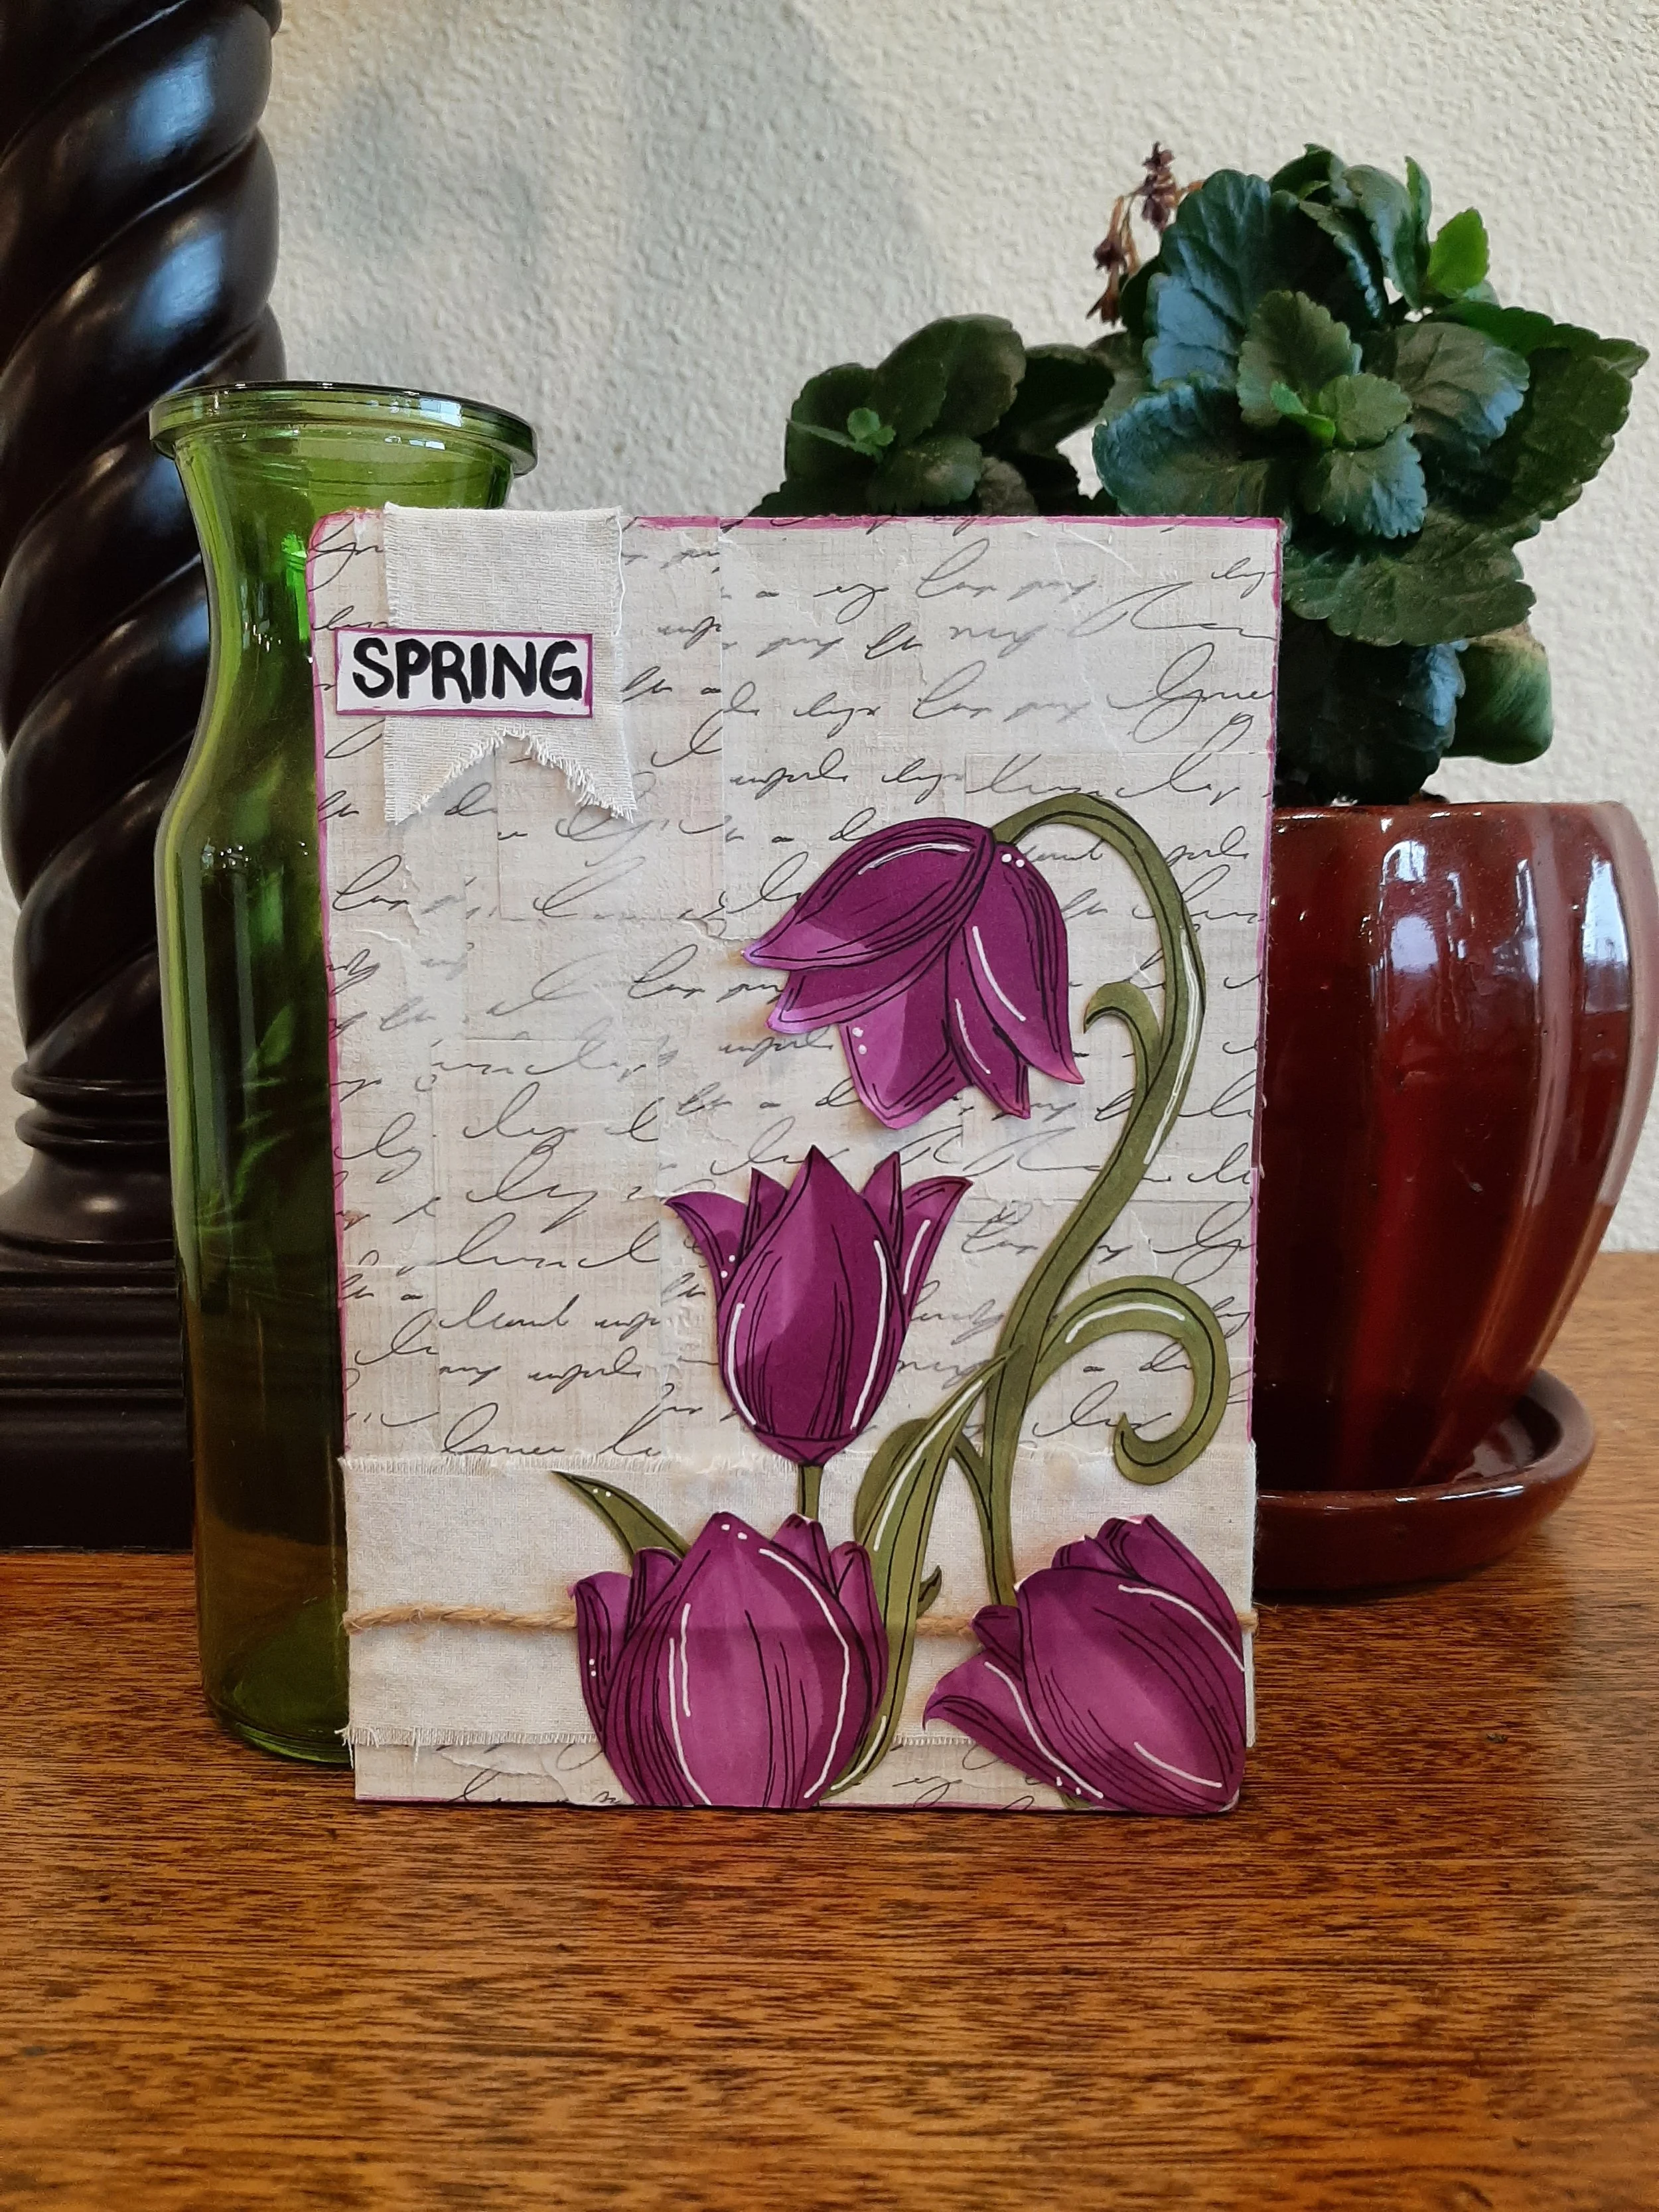
Cut a 5x7” cardboard rectangle.
Cut your background cardstock into random squares and rectangles.
Use small amounts of mod podge to adhere the squares and rectangles randomly onto the cardboard. Continue until the cardboard is covered.
Spread a thin layer of modeling gel randomly over the cardstock. Allow to dry completely (you can use a heat gun or blow dryer to speed this up).
Cut a 2x6” piece of ribbon or fabric.
Adhere to the bottom of the cardstock about 1/2” from the bottom edge.
Cut a 6” piece of twine and adhere horizontally in the center of the ribbon/fabric.
Stamp your flowers OR hand-draw your flowers onto white cardstock, color as desired and cut out.
Adhere your flowers has desired.
Cut a 1x2” piece of fabric and cut into a banner at one end.
Adhere to the top of the cardboard about 1/2” from the left side.
Cut a 1/2x1” white cardstock rectangle.
Run a marker along the edge of the rectangle to create a boarder.
Handwrite or stamp your phrase into the center of the rectangle.
Adhere the rectangle over the fabric banner about 1/8” from the left side of the cardboard.
Use the gel pen to add details to your flowers.
If desired, run a marker along the edge of the cardboard to create a boarder.
Happy crafting,
Misty
I’d love to see how yours turned out! Post a photo to the Facebook community, Instagram with the hashtag #MadeWithCreativelyMisty, or below in the comments.
Love this free tutorial? There’s plenty more to choose from. Find more free tutorials here. Ready to up your crafting game? Look into booking one of my creative workshops.
