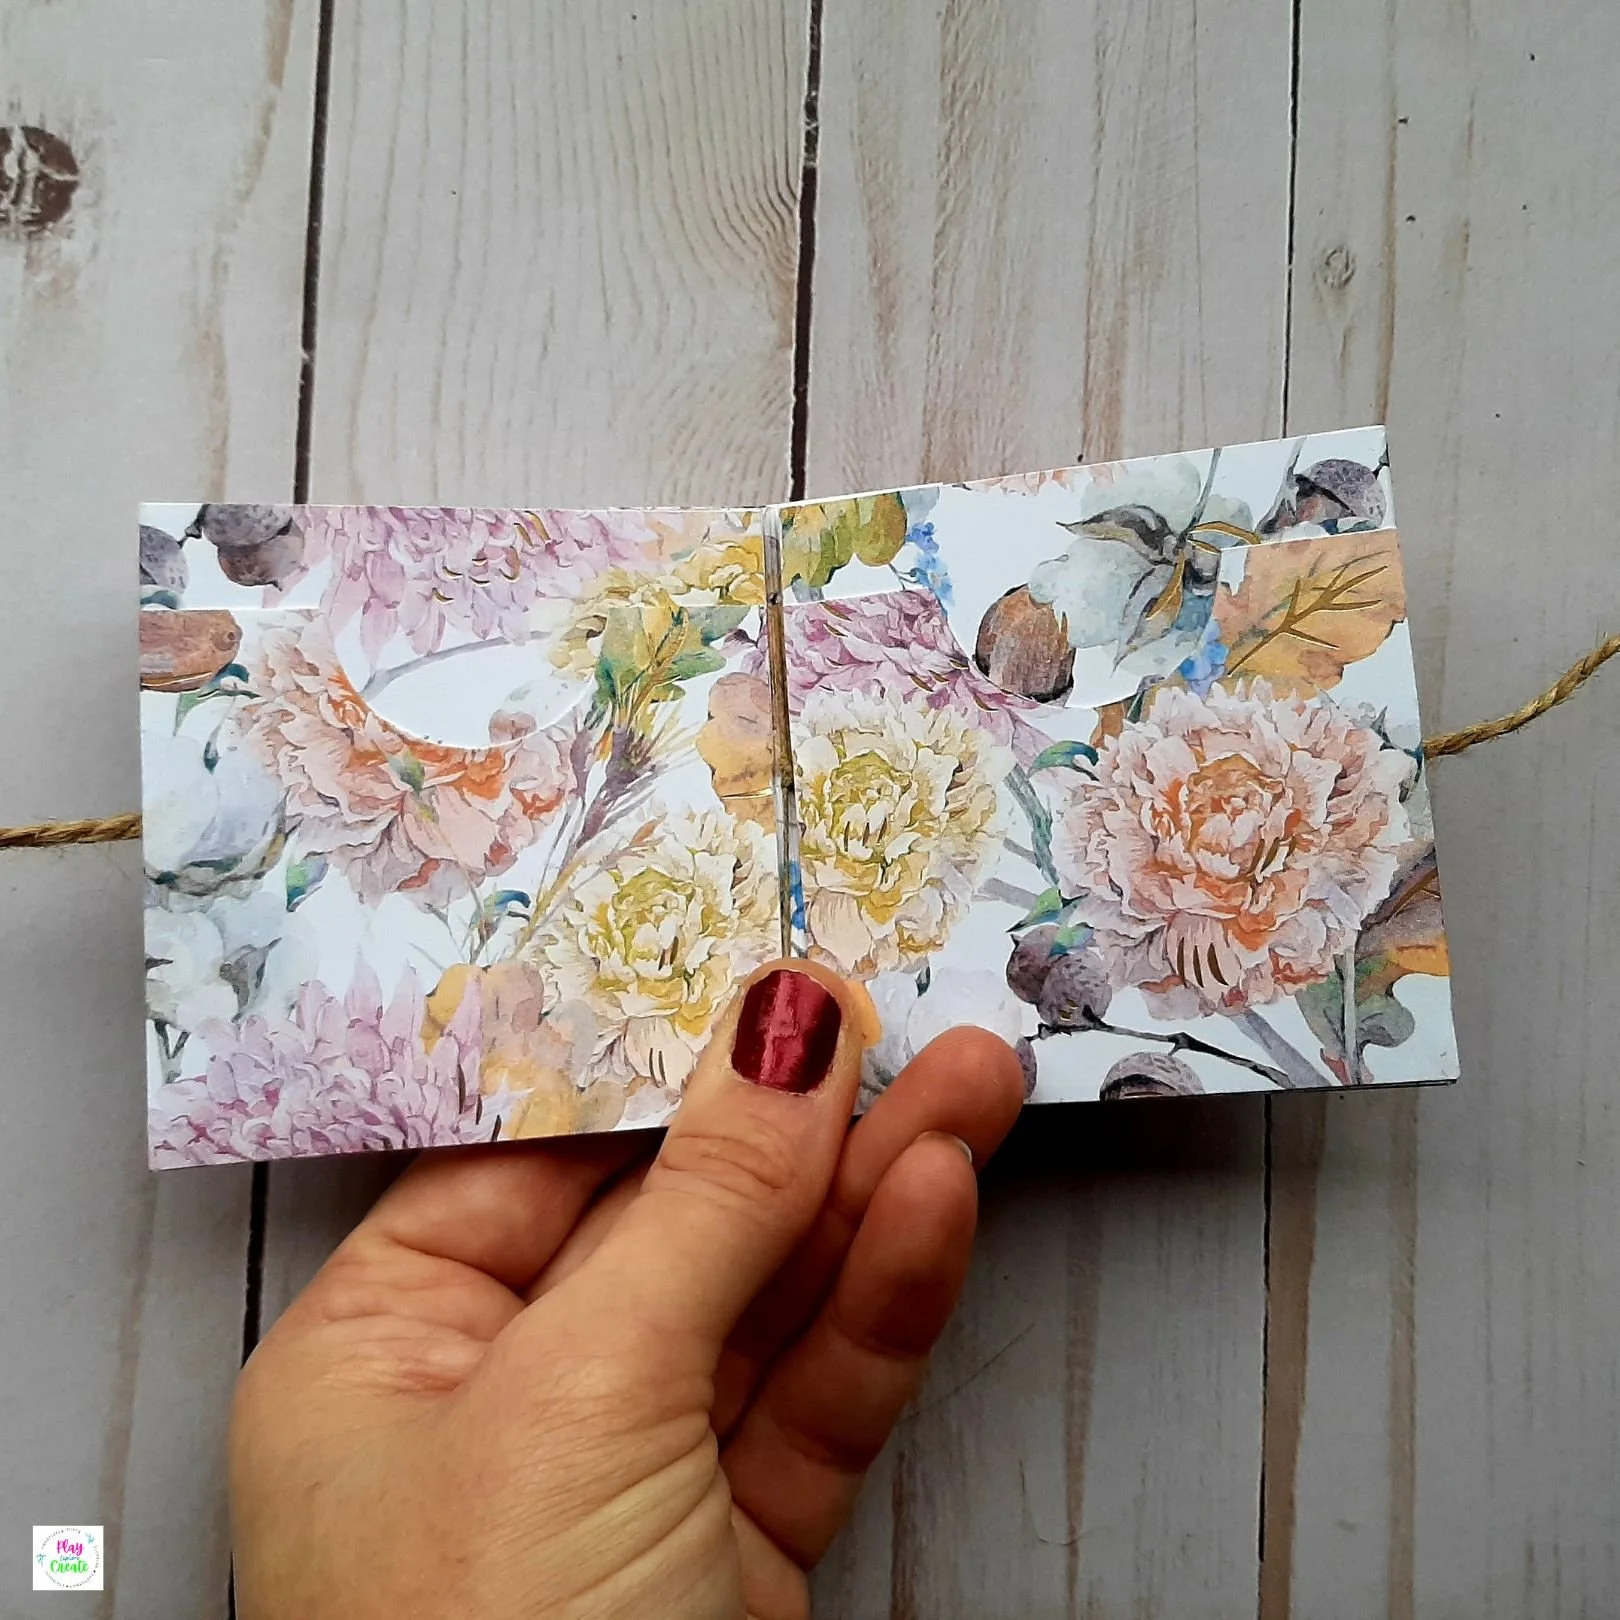
Mini Pocket Journal Tutorial
Skill Level: Beginner
Time needed: 30 minutes
I love paper and fabric!! They are two of my favorite things because they come in so many beautiful patterns and I can create so many amazing things with both of them. Today’s project is an adorable mini pocket journal I made from some absolutely gorgeous paper I found at Michaels. It only uses two pieces of paper and a couple other supplies…easy right!
Supplies:
2- 12x12” patterned cardstock
All-purpose or paper glue
Paper trimmer
Twine
Needle and thread
Cut a 6x12” rectangle.
Fold in half to create a 3x12” rectangle.
Open back up.
Score every 3”.
Fold back in half to a 3x12” rectangle.
Glue at both ends and each 3” score line. Creating a 4-pocket signature.
Fold in half at middle score line to create a 3x6" rectangle.
Fold both additional score lines in towards the center to create a 3x3” square. Set aside.
Cut a 6x6" rectangle.
Fold in half to create a 3x6” rectangle.
Open back up.
Score at 3”.
Fold back in half to a 3x6” rectangle.
Glue at both ends and 3” score line. Creating a 2-pocket signature. Set aside.
Repeat steps 9-13.
Glue a 12 1/2” piece of twine to the inside of each side edge.
Glue the 3x6” rectangle completely shut, enclosing the glued twine ends, and creating your cover.
Place the double pocket signature into the cover, matching seams.
Place the 4-pocket signature into the double pocket signature, matching seams.
Sew through all layers to bind.
Create additional pockets, tags and embellishments as desired.
I decided to add little half pockets to all of the full pages in my journal as shown in the picture above but it’s completely optional for you.
Happy crafting,
Misty
I’d love to see how yours turned out! Post a photo to the Facebook community, Instagram with the hashtag #MadeWithCreativelyMisty, or below in the comments.
Love this free tutorial? There’s plenty more to choose from. Find more free tutorials here. Ready to up your crafting game? Look into booking one of my creative workshops.


