

Midnight Garden DIY Pocketbook Tutorial

Who doesn’t love Halloween? It’s the perfect time of year to play around with papercrafting and create some fun little pocketbooks. These pocketbooks are small enough to carry around with you or give as a special gift, use minimal supplies and can be customized anyway you want.
What you’ll need:
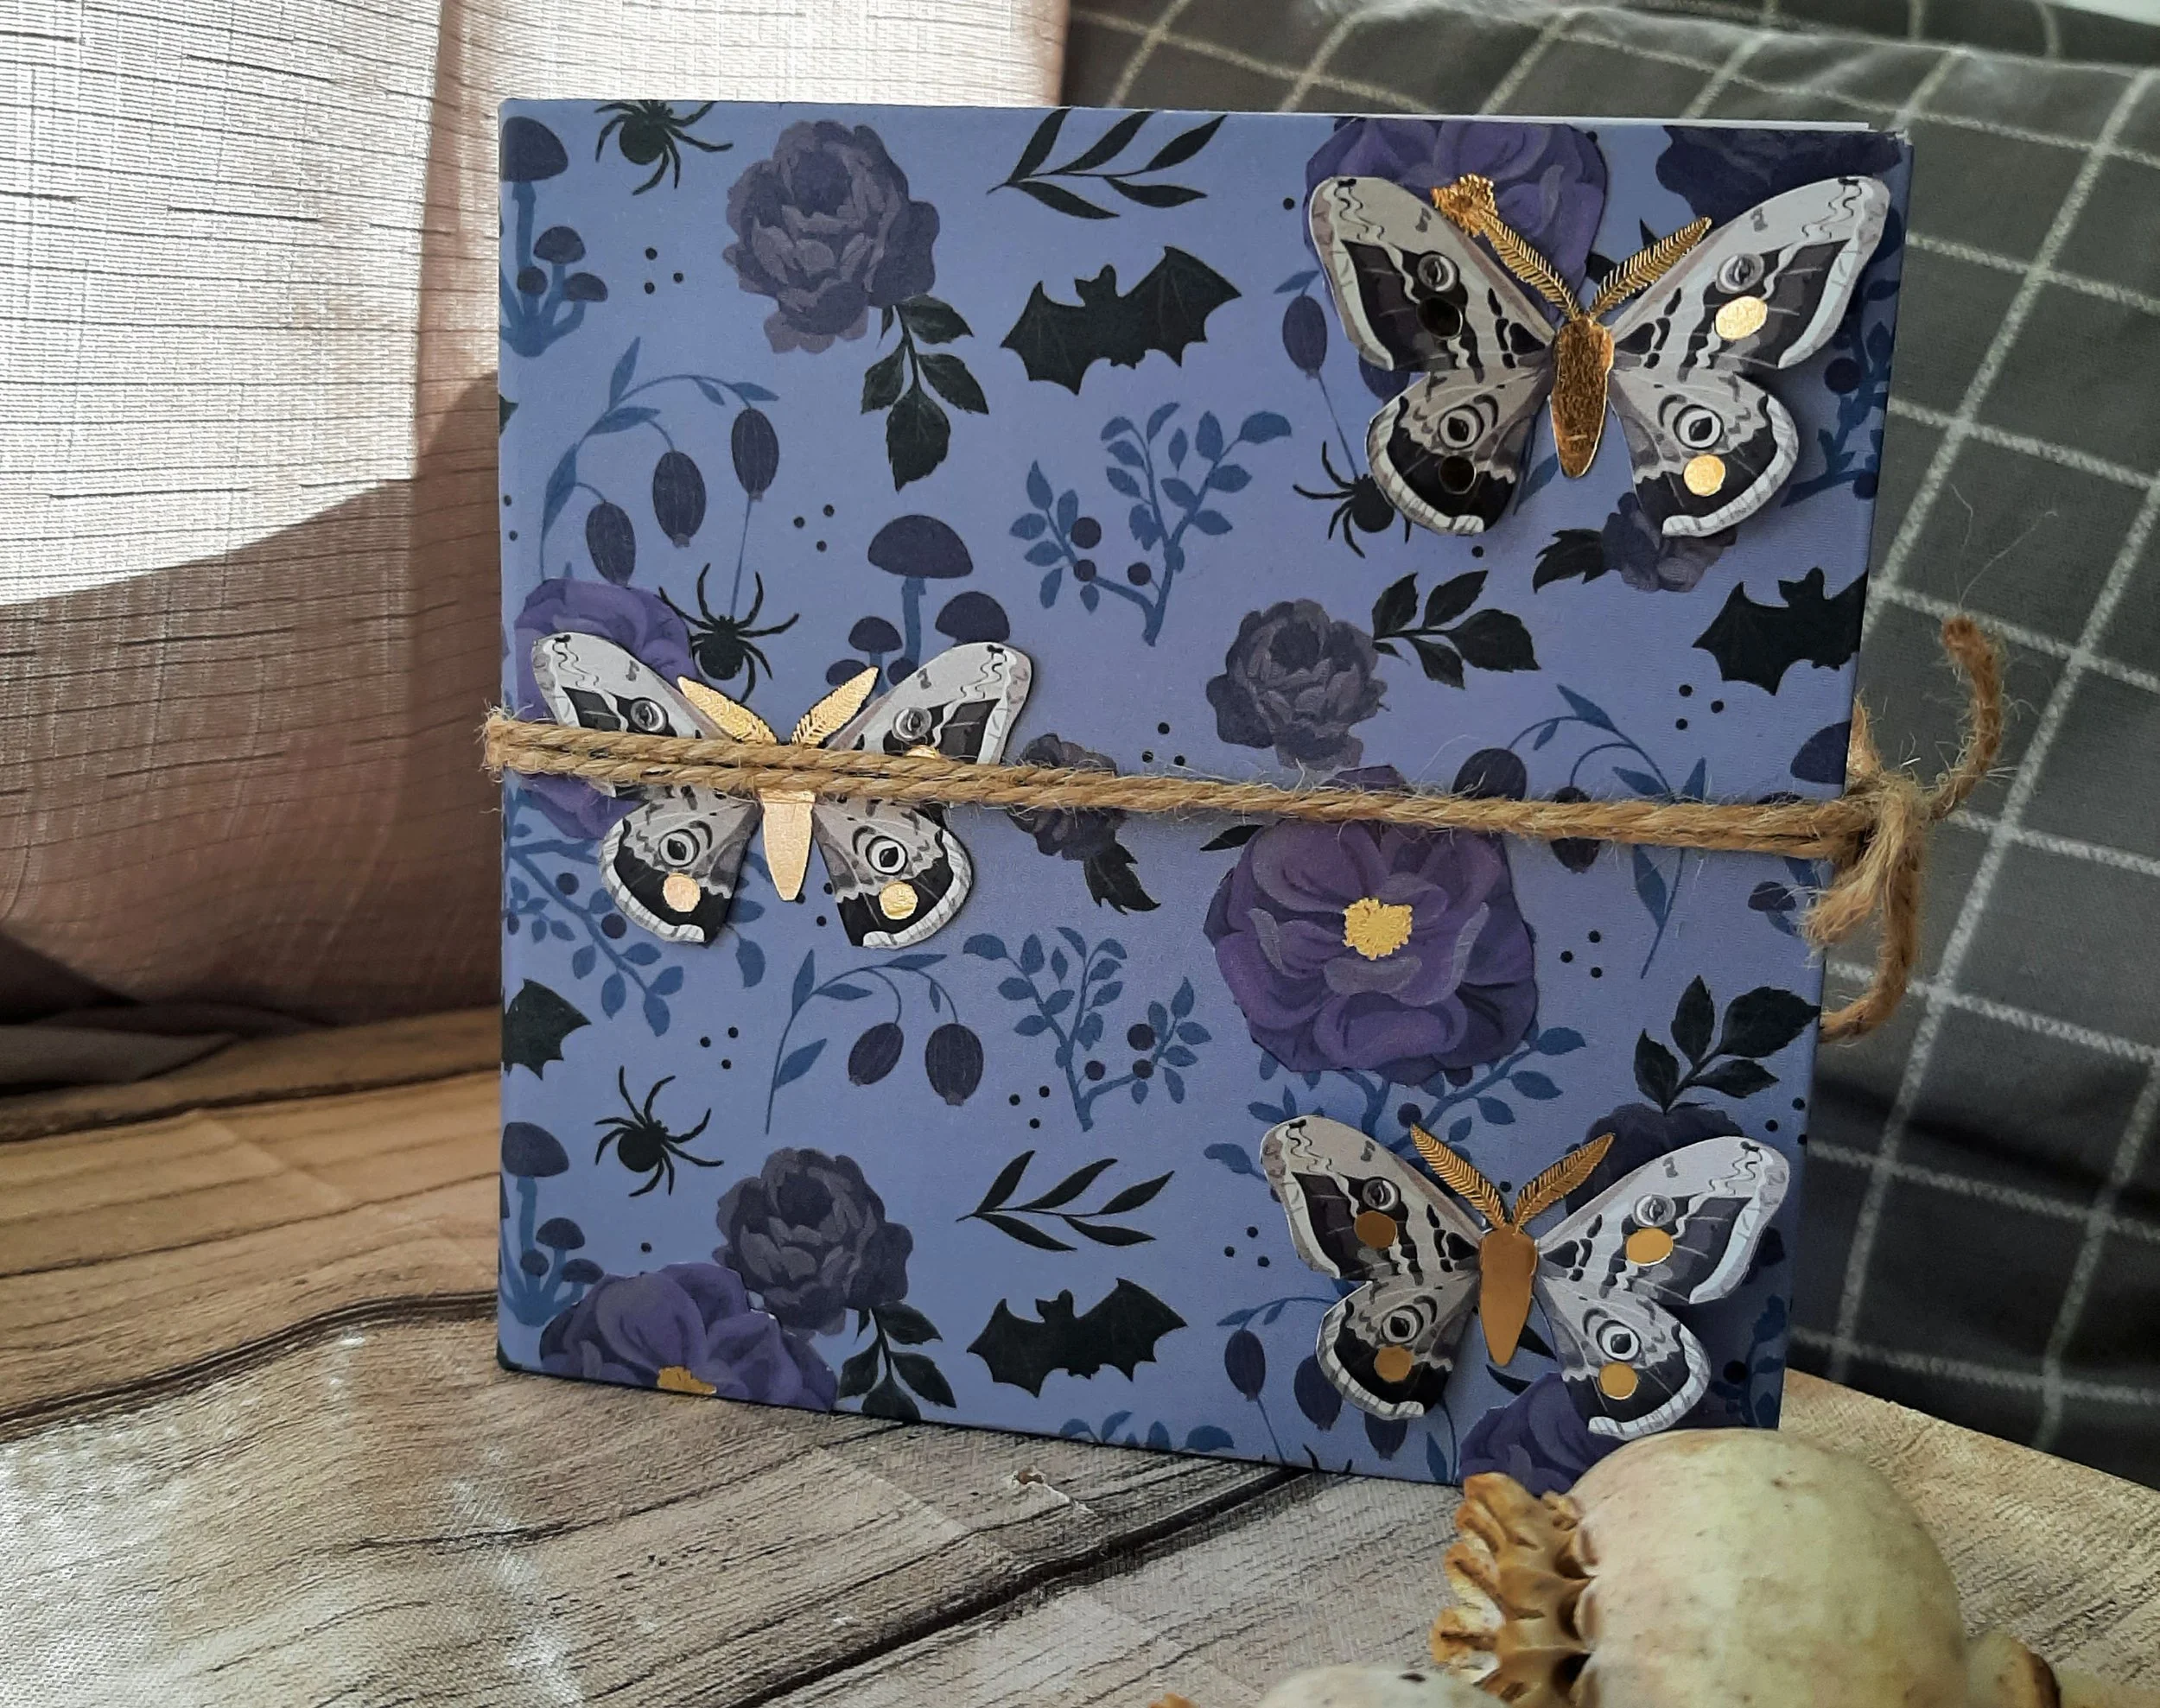
Halloween themed paper pad (I’m using the Midnight Garden pad from Michaels.)
Aleen’s all-purpose glue
Paper trimmer
Large paperclips
Ribbon/Twine
Scissors
Heavy duty sewing needle
Heavy duty sewing thread
Paper piercer
Chipboard
Embellishments/stickers (optional)
Creating the book cover:
Cut a 6x12” rectangle.
Score 1/2” around each edge. If your paper is not double-sided make sure you are using the white side not the patterned side.
Score 5 1/2” from the left and right edges. If your paper is not double-sided make sure you are using the white side not the patterned side.
Cut two 5x5” chipboard squares.
Adhere one chipboard square into the scored 5x5” square on the left side of the 6x12” rectangle. If your paper is not double-sided make sure you are using the white side not the patterned side.
Repeat step 5 with the second chipboard square onto the right side.
Cut and remove the tiny, scored square in all four corners.
Fold over the bottom edge and adhere in place.
Repeat step 8 with the top edge and them both side edges. Set aside the book cover.
Creating the signatures:
Cut four 10x10” squares.
Fold each square in half and then fold in half again. If your paper is not double-sided make sure you are putting the white side inside and the patterned side facing out.
Open each square up and adhere down the middle vertical edge and along the bottom edge to create two pockets.
Cut nine 5x10” rectangles and fold in half.
Divided your pages and pocket pages between three signatures, so your bulk is evenly dispersed.
Cut six 5x5” squares.
Mark 2” up from the bottom right corner of each 5x5” square.
Cut each 5x5” square from the top left corner to the right-side mark, creating a pocket face.
Adhere these six 5x5” pocket faces to any pages you choose by gluing the left, right and bottom edges to the other page.
Adhering the signatures into the book:
Cut a 2x4 3/4” rectangle.
Poke two holes in the seam of each signature, one towards the top and one towards the bottom.
Sew one signature into the center of the 2x4 3/4” rectangle.
Sew another signature onto the 2x4 3/4” rectangle 1/4” to the left of the first signature.
Sew the last signature onto the 2x4 3/4” rectangle 1/4” to the right of the middle signature.
Adhere the 2x4 3/4” rectangle with attached signatures to the binding seam inside of the book cover.
Finishing the book:
Cut two pieces of 18” ribbon/twine.
Adhere one piece of twine to the left and right inside edges of the cover, towards the center, to create your closures.
Cut two pieces of 4 3/4x 4 3/4” squares.
Adhere one 4 3/4x 4 3/4” square to the left side of the cover inside and one to the right side. This will cover your twine ties and give the inside cover a finished look.
Creating the fun extras:
Cut out as many tags as you’d like and embellish as desired. These are great to put inside your pockets.
Create as many additional pocket faces as you’d like and adhere throughout your book.
Create as many fun little bookmarks as you’d like by cutting a 1 1/2"x 3-5” rectangle. Fold the top edge through a paperclip and glue in place. Embellish as desired. The paperclip can now be used on any page you’d like and moved around as desired.
Embellish your book as desired.
Happy crafting,
Misty
If you loved this free tutorial look into booking one of my creative workshops.
