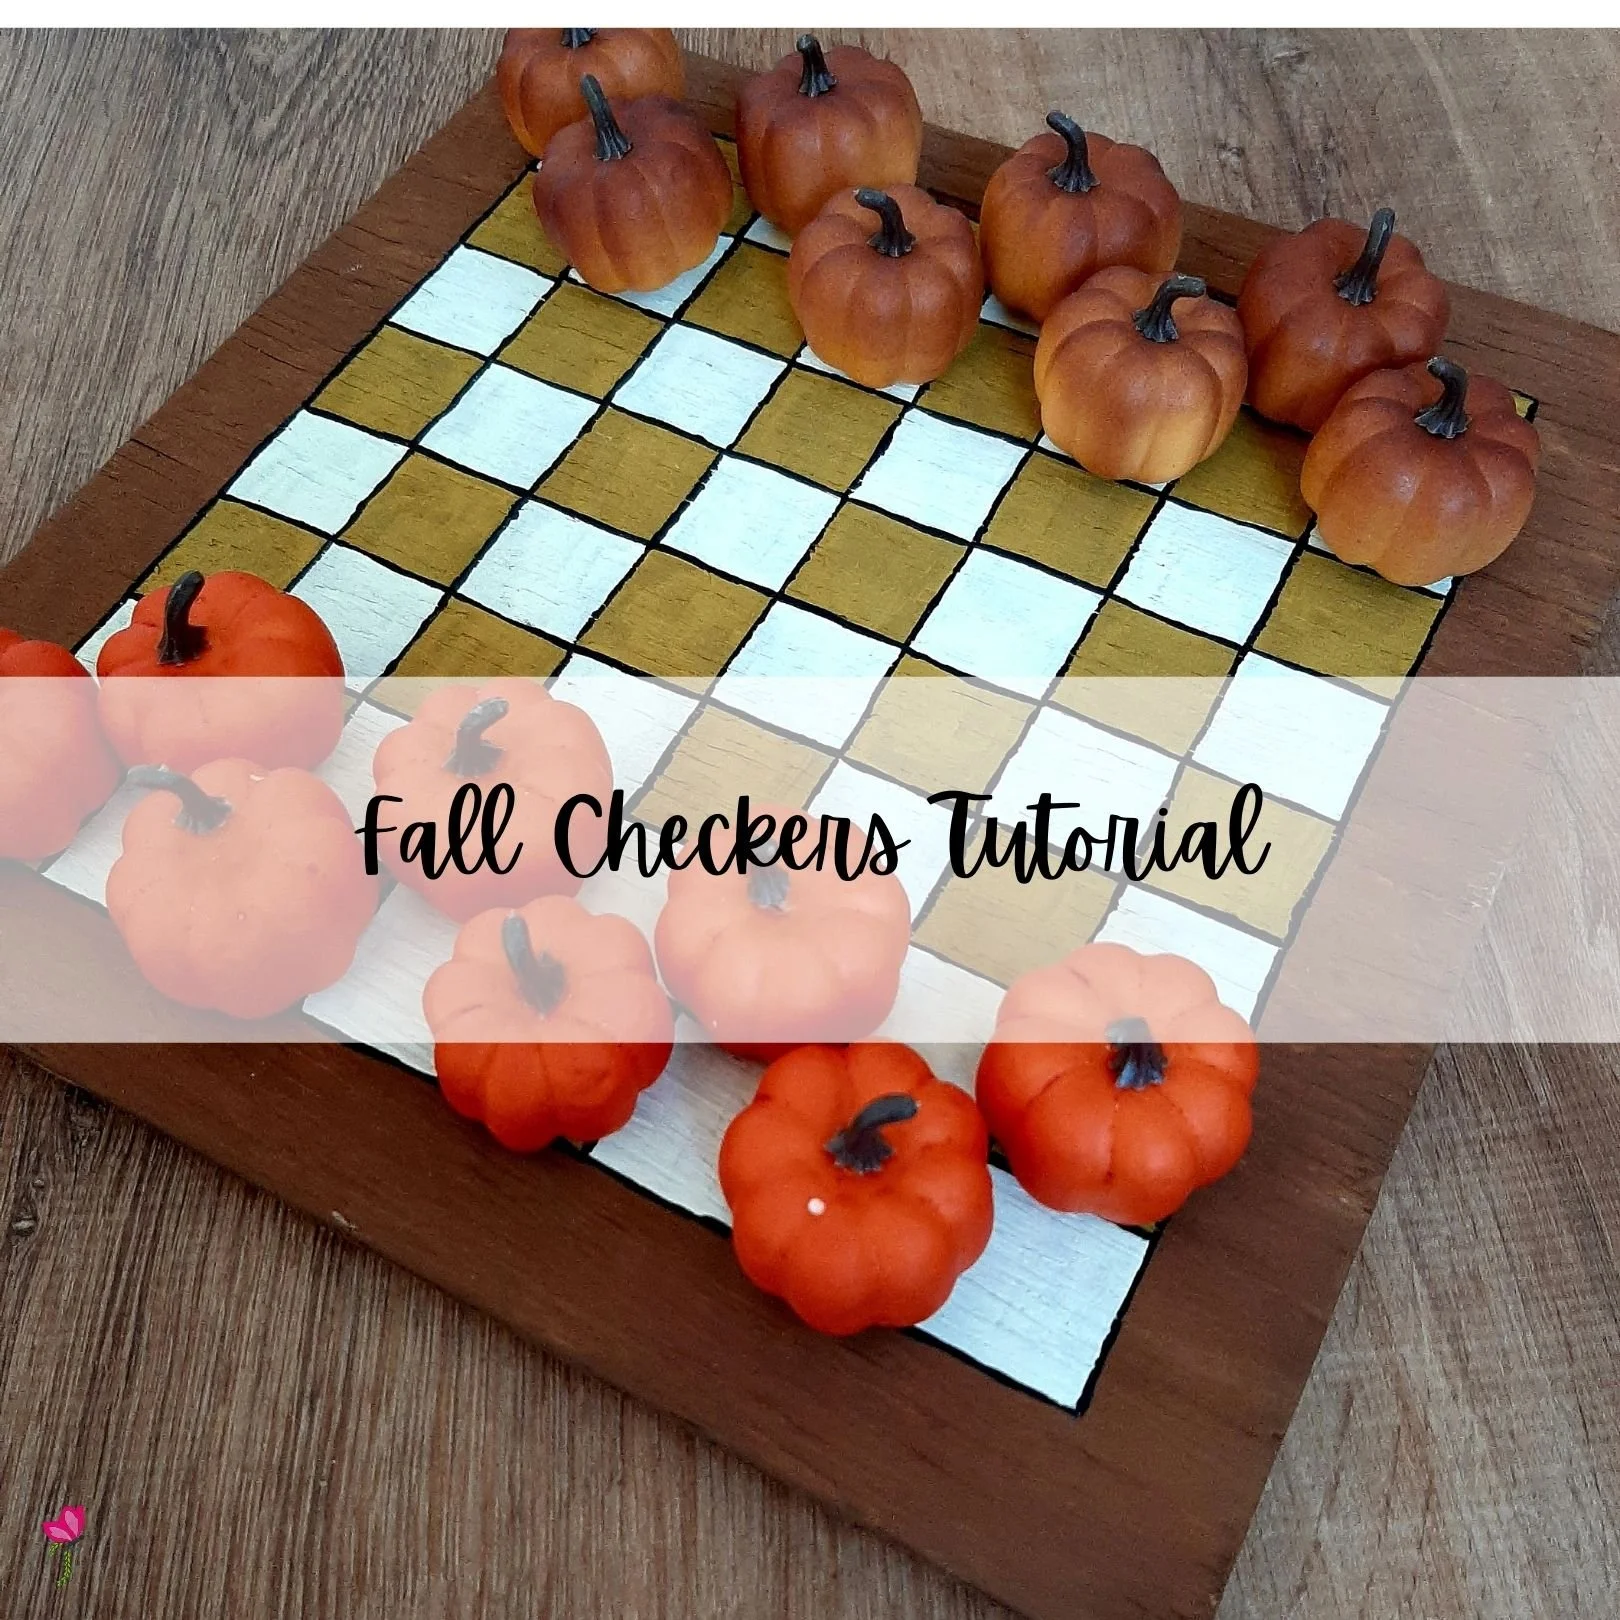
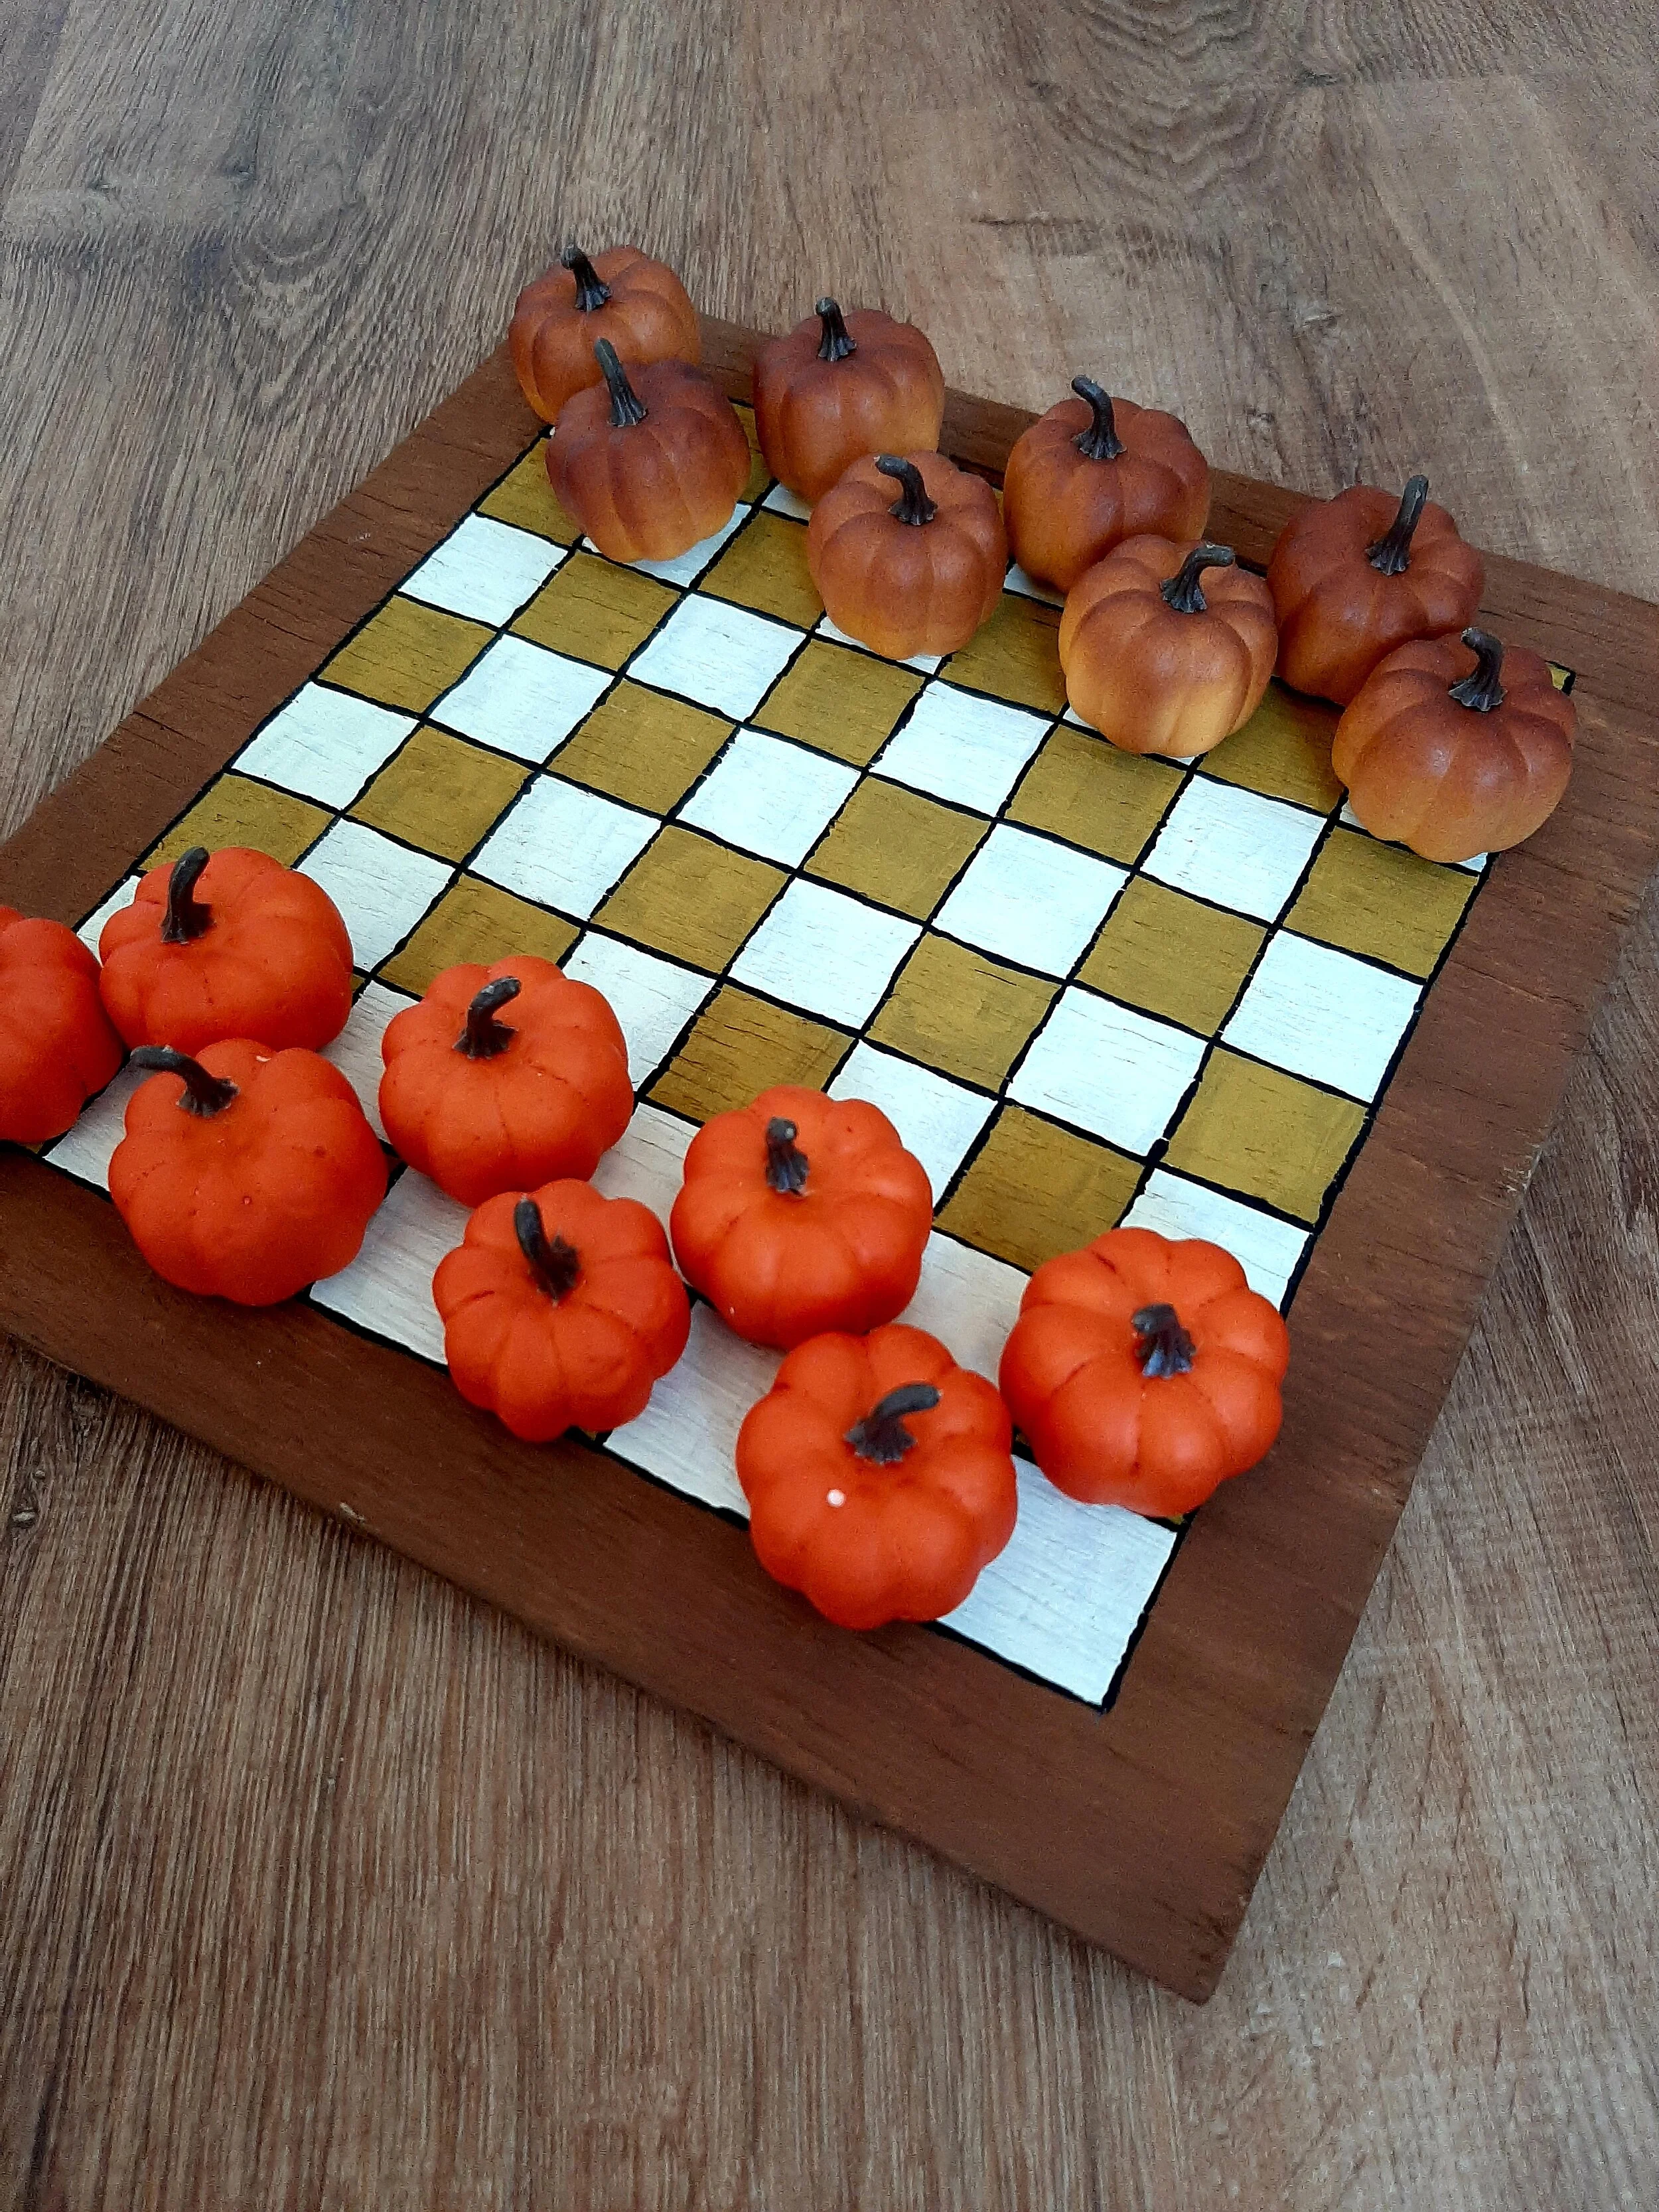
DIY Fall Checkers Tutorial
I just can’t get enough of fall; it is by far my favorite time of year and I love creating fall inspired projects.
This quick project makes it super easy to add some fall time fun to your day with just a few supplies.
What you need:
Wood
Acrylic- 4 colors
Paint brushes
Ruler
Pencil
Checker pieces
Scavenge a piece of wood at least 10x10”
Paint the top and sides of the wood and let dry completely.
Use a ruler to mark all sides one inch from the edges. Connect the dots to make a square.
Paint the square with a second color and let dry completely.
Use a ruler to create 64 one inch squares inside the large square.
Paint every other square with a third color and let dry completely.
Trace every square with a fourth color to add more definition and let dry completely.
Add your checker pieces.
Happy Crafting,
Misty
If you loved this free tutorial look into booking one of my creative workshops.