

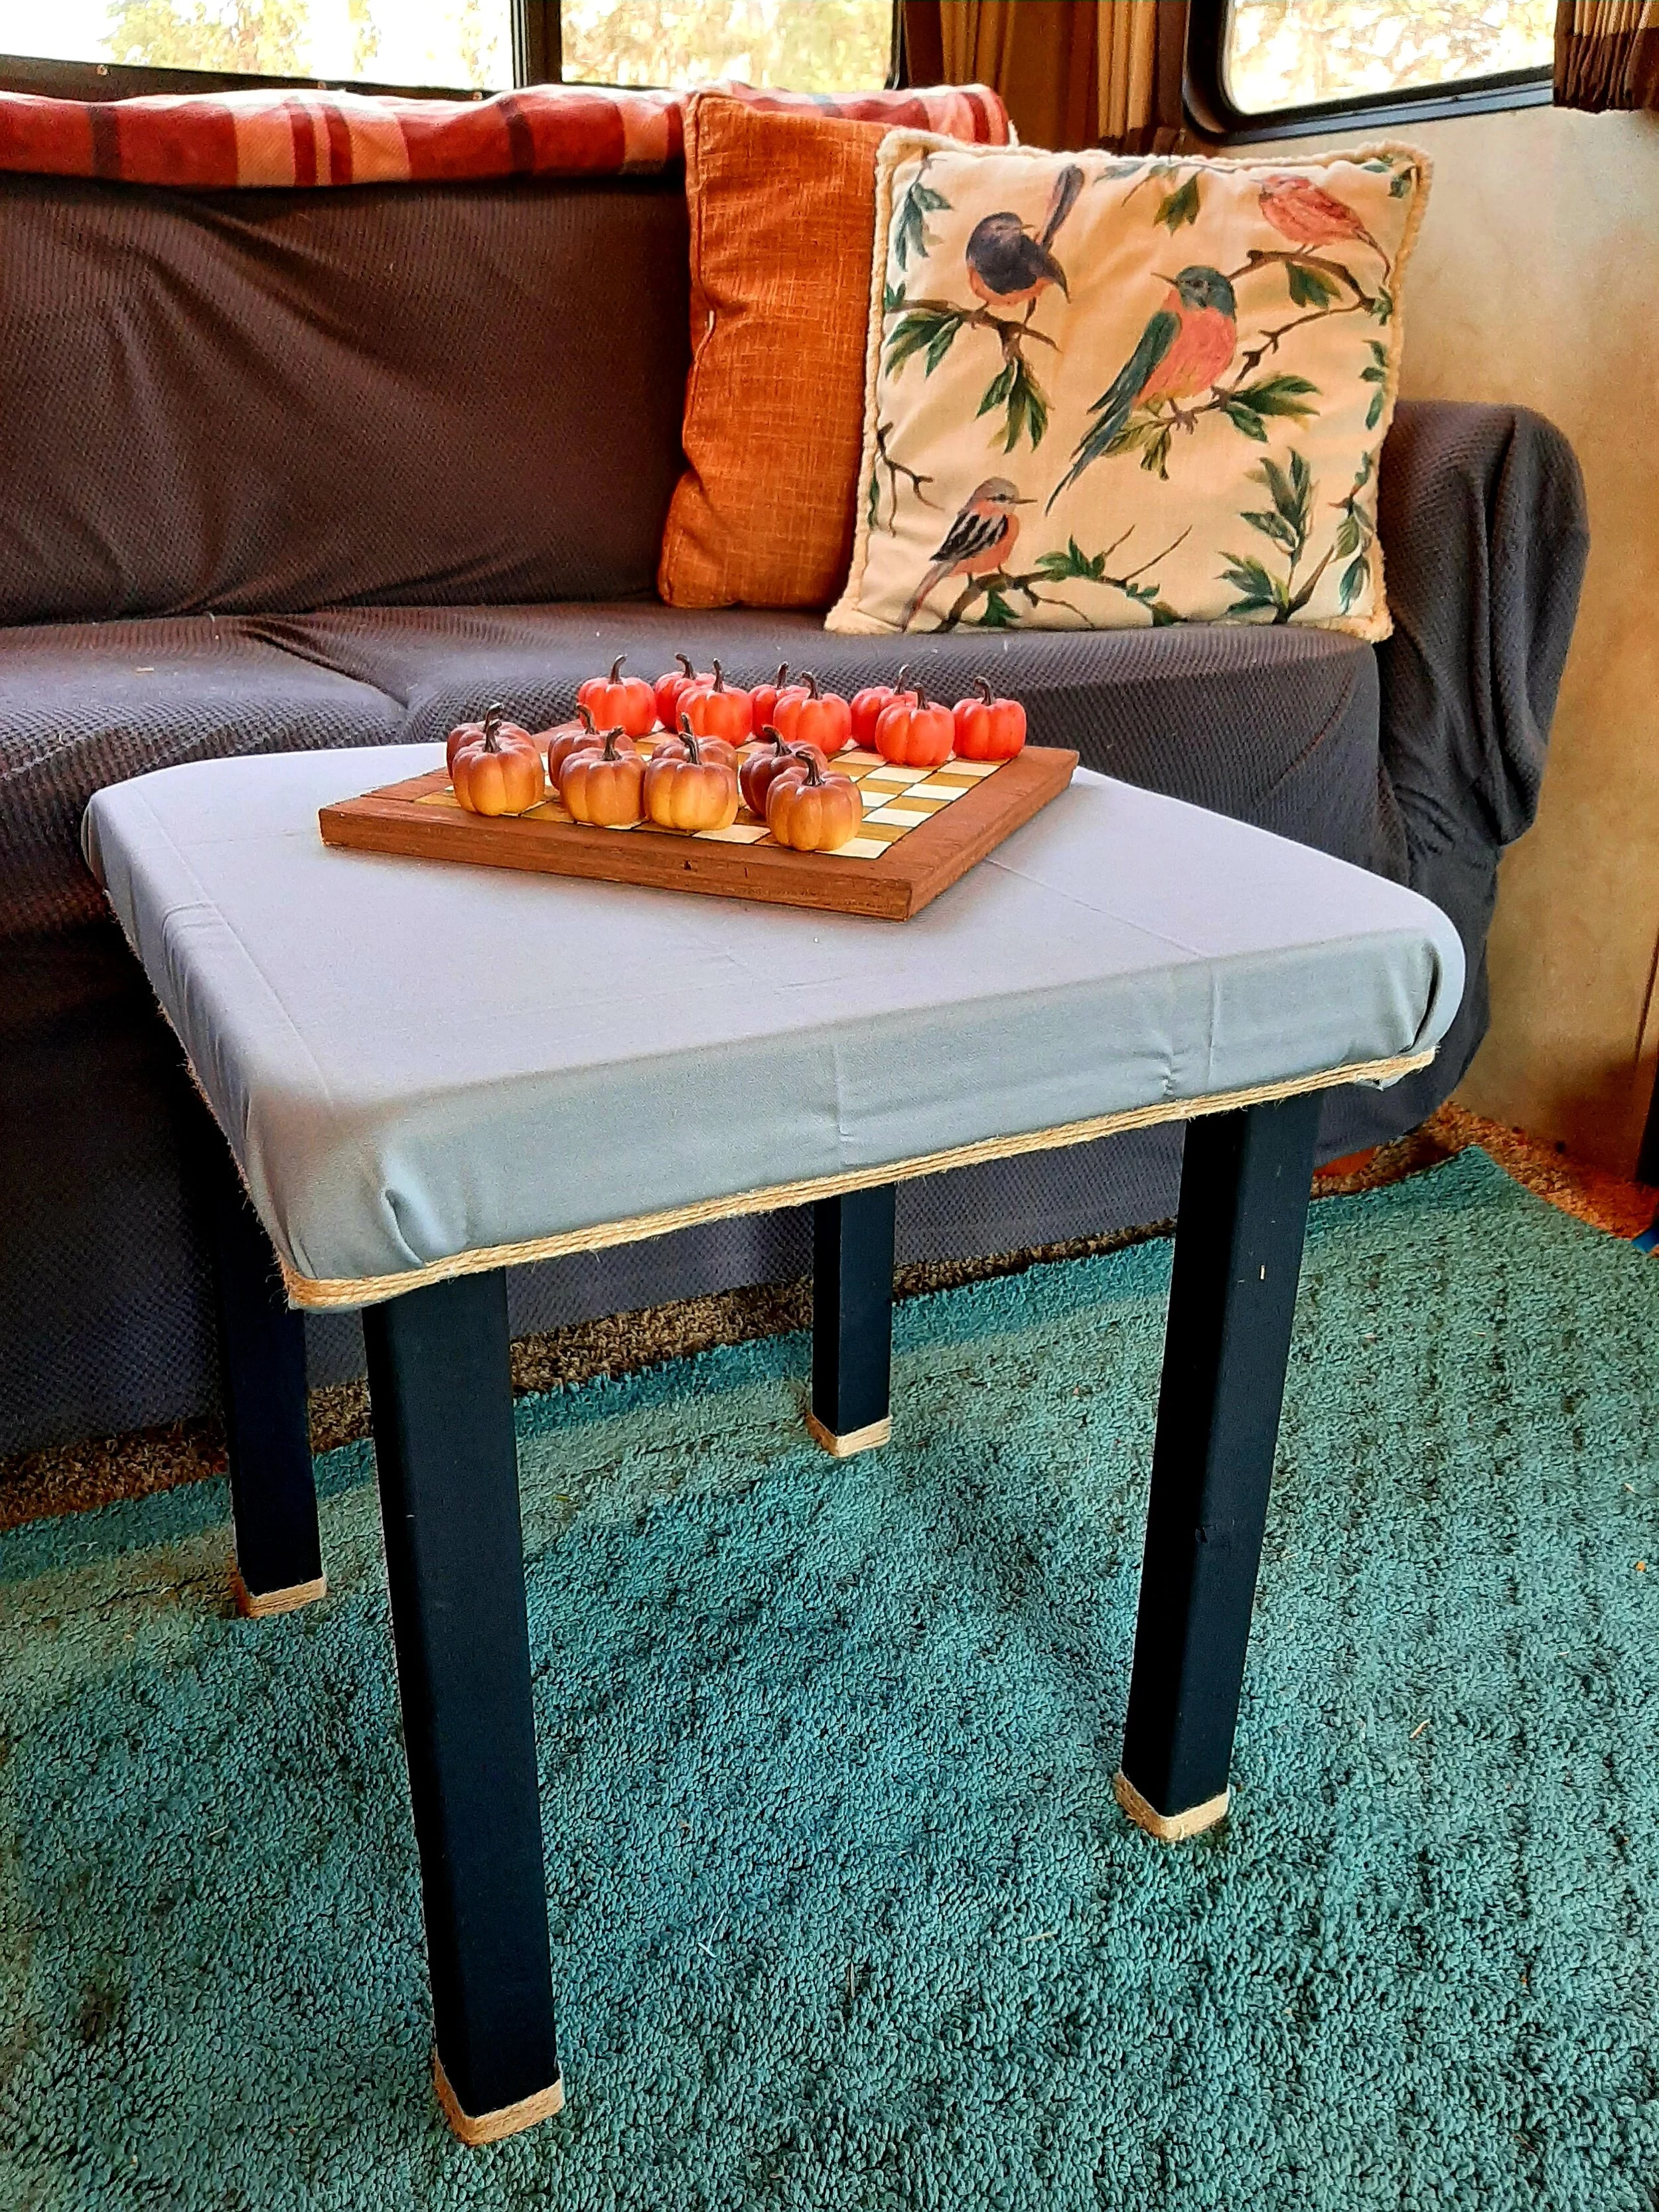
Easy DIY Footstool Tutorial

Sometimes you really need or want something and everything you have just isn’t doing the trick. It’s too big, not the right color or just to expensive.
That’s when you get creative and start making.
This footstool is easy to make, doesn’t require a lot of materials and can be made with things you have laying around the house. Get started on yours today!
What you need:
Flat wood
Wood blocks
Fabric
Twine
Scissors
E6000
Hot glue and sticks
Screws
Drill or screwdriver
Foam block
Acrylic paint
Paint brushes
Staple gun and staples
Sealer
Purchase a foam square in what ever size you desire.
Cut a flat piece of wood 1” smaller than your foam square.
Cut four wooden legs, however long you desire.
Paint the legs and let dry completely.
Seal the legs and let dry completely.
Mark your flat piece of wood where you want your lets.
Use E600 and some hot glue to secure your legs to the flat piece of wood.
Using two screws per leg, screw your legs onto the flat piece of wood for extra support.
Cut the fabric into a square 6” bigger than your foam square.
Lay your fabric on a hard surface.
Lay your foam square, centered onto the fabric.
Lay your footstool upside down in the center of the foam square.
Starting on one side create a “hem” by folding the edge of the fabric over about 1/4”. Fold again 1/4”.
Pull the folded edge to the legs and staple to the board, working from the middle out, leaving the outer corners undone.
Repeat steps 13 and 14 with the three remaining sides.
Cut the corners of fabric down so there’s less to work with.
Repeat step 13 in the corner and pull towards the leg.
Staple in place.
Repeat steps 17 and 18 with the three remaining corners.
Wrap twine around the bottom 1” of each leg and glue into place.
Wrap twine around the bottom of the cushion and glue into place.
Happy Crafting,
Misty
If you loved this free tutorial look into booking one of my creative workshops.
