

Spring Bookmark Tutorial
As many of you know, I love to read (anything from paranormal romance to business books) so when I was asked to create some kid friendly bookmarks I instantly became inspired to create some beautiful spring ones as well.
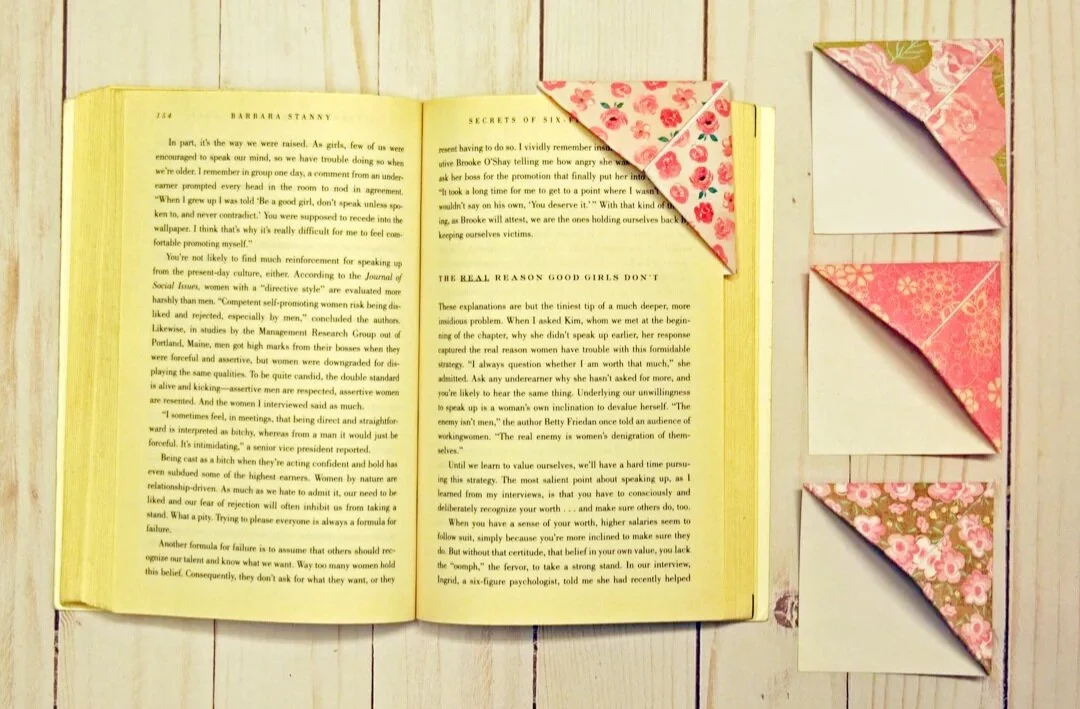
These paper bookmarks are super easy to create and videos can be found all over the internet so be sure to check them out if you want inspiration on getting more creative with yours.


1. Cut your paper down to size, these are 6x6" but you can go down to 4x4".
2. Flip your paper so the pattern is on the outside and fold in half diagonally.
3. Fold your right base corner up to the top corner.
4. Repeat step three for the left corner.
5. Flatten back into a triangle then fold the top corner down to the bottom (make sure you only fold one layer of your paper for this step.
6. Fold both of your base corners into the center, making what looks like a mini envelope. Flatten back out.
7. Using your pre-folded lines, fold your right base corner back to the top.
8. Using your pre-folded lines, tuck the top half snuggly into the "hole", creating a pocket.
9. Repeat step eight with the left corner.
What you'll need:
Paper trimmer or scissors
Cardstock
Happy Crafting,
Misty
If you loved this free tutorial look into booking one of my creative workshops.
